Mastering Precision: A Fillet Knife
In the world of culinary arts, a well-maintained fillet knife is a chef’s best friend. The razor-sharp precision of this slender blade is essential for achieving clean cuts and delicate filleting. However, like any tool, a fillet knife requires regular sharpening to maintain its edge. In this comprehensive guide, we’ll walk you through the art of sharpening a fillet knife, covering techniques, tools, and pro tips to keep your blade in optimal condition.
Understanding the Anatomy of a Sharp Edge
Before delving into the sharpening process, it’s essential to understand the anatomy of a sharp edge. A fillet knife typically has a thin, flexible blade designed for intricate cuts. The sharpened edge, often angled between 15 to 20 degrees, plays a crucial role in achieving precision.
Tools of the Trade
To embark on your journey of sharpening a fillet knife, gather the following essential tools:
1. Sharpening Stone
The foundation of the sharpening procedure is a high-quality sharpening stone. There are several grits of stones, from coarse to fine.Coarser grits are used for initial sharpening, while finer grits refine the edge for a razor-sharp finish.
2. Honing Rod
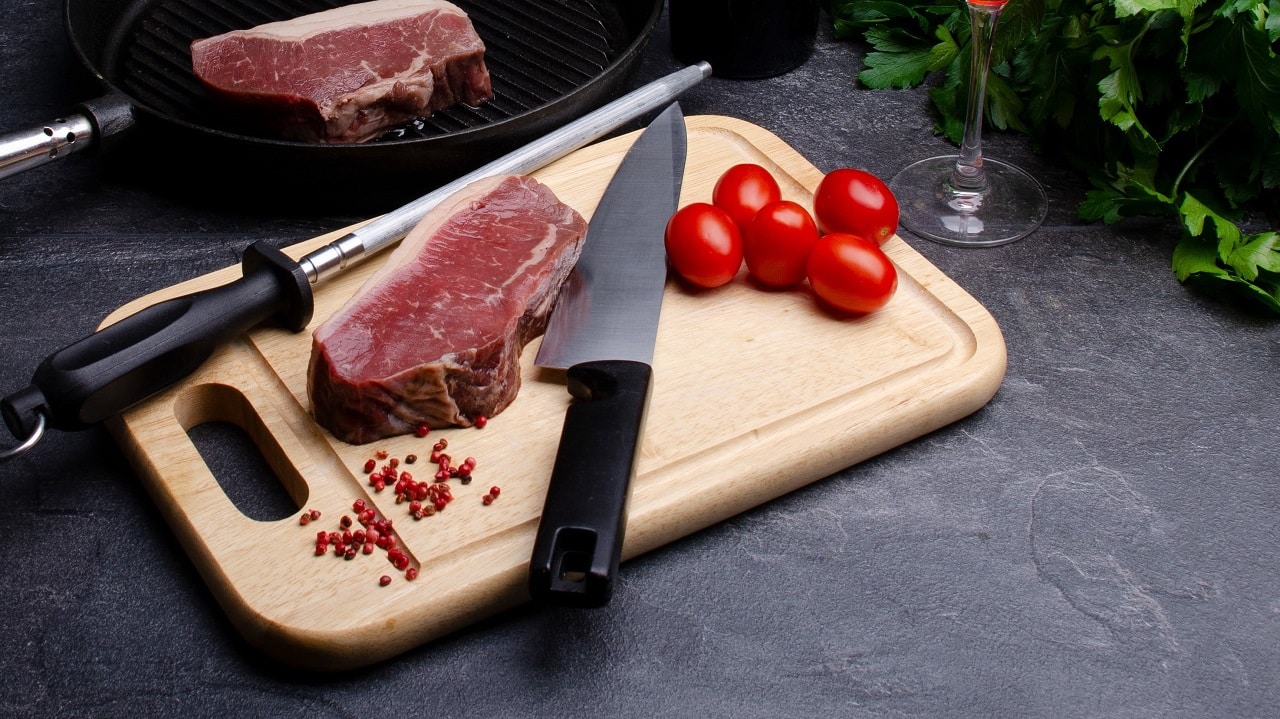
A honing rod, also known as a sharpening rod or steel, is used for honing and maintaining the edge between sharpening sessions. While it doesn’t remove as much material as a sharpening stone, it helps align the blade and keep it straight.
3. Lubricating Oil or Water
You could require water or lubricating oil, depending on the kind of sharpening stone you use. This lessens friction and keeps broken metal from fouling the stone while it is being sharpened.
4. Towel or Cloth
Keep a towel or cloth handy to wipe the knife blade and hands during the sharpening process. This ensures a clean and safe working environment.
The Step-by-Step Sharpening Process
Now that you’ve assembled your tools, let’s walk through the step-by-step process of sharpening a fillet knife:
Step 1: Preparation
Before you begin, ensure the knife is clean and free of any food residue. A quick wash and thorough drying will suffice. Secure the sharpening stone on a stable surface and place a damp cloth or paper towel beneath it to prevent slipping.
Step 2: Understanding the Blade Angle
The key to sharpening a fillet knife lies in maintaining the correct blade angle. For most fillet knives, a 15 to 20-degree angle works well. If you’re unsure, refer to the manufacturer’s recommendations.
Step 3: Wetting the Stone
Before beginning, involve the water stone in it for ten to fifteen minutes if you’re using one. Apply a few drops of lubricating oil and evenly distribute them over the surface if you’re using an oil stone.
Step 4: Positioning the Knife
Hold the fillet knife securely with your dominant hand. Position the blade on the stone at the desired angle, ensuring the entire length of the edge makes contact with the stone.
Step 5: Starting with Coarse Grit
If your sharpening stone has multiple grits, begin with the coarsest grit to address any dullness or nicks. Using moderate pressure, slide the blade across the stone in a sweeping motion, maintaining the chosen angle. Repeat this process on both sides of the blade.
Step 6: Progressing to Finer Grits
Once you’ve established a clean and sharp edge with the coarse grit, move on to finer grits to refine the edge. Repeat the same sweeping motion, gradually decreasing the pressure as you progress to finer grits.
Step 7: Honing with a Rod
After sharpening, use a honing rod to maintain the blade’s alignment. Hold the honing rod vertically and swipe the blade across it from base to tip, ensuring equal passes on both sides.
Step 8: Checking Sharpness
To check the sharpness, lightly run your fingertip along the edge. Be extremely cautious to avoid injury. If the blade feels uniformly sharp, you’re ready to move on to the finishing touches.
Step 9: Finishing Touches
For a polished finish, consider stropping the blade. Stropping involves running the knife’s edge along a leather strop or a piece of cardboard, further refining the sharpness.
Step 10: Cleaning and Storing
Once you’re satisfied with the sharpness, clean the blade thoroughly to remove any metal particles. Dry it with a towel, and store it in a knife block or magnetic strip to prevent damage.
Pro Tips for Sharpening Success
1. Consistency is Key
Regular maintenance is more effective than waiting until the blade is severely dull. Consistent sharpening, coupled with honing, ensures a longer lifespan for your fillet knife.
2. Patience Pays Off
Sharpening is a skill that improves with practice. Take your time to understand the process and develop a steady hand. Rushing can lead to uneven sharpening and a less-than-optimal edge.
3. Angle Guides for Precision
If you’re new to sharpening, consider using angle guides. These guides attach to the spine of the knife and help maintain a consistent angle, making the sharpening process more accessible for beginners.
4. Invest in Quality Stones
A high-quality sharpening stone is a worthwhile investment. While there are various options on the market, choosing a reputable brand ensures durability and consistent performance.
5. Know When to Seek Professional Help
If your fillet knife has significant damage or if you’re uncomfortable with the sharpening process, don’t hesitate to seek professional assistance. Professional knife sharpening services can restore your blade to its former glory.
Conclusion: A Sharpened Blade, A Culinary Edge
Mastering the art of sharpening a fillet knife is a rewarding journey that enhances your culinary prowess. As you become more familiar with the process, you’ll develop an intuitive understanding of your knife’s needs and achieve a level of precision that transforms ordinary cuts into culinary masterpieces.
So, embrace the sharpening process as an essential aspect of your culinary routine. Equip yourself with the right tools, practice diligently, and savor the satisfaction of wielding a fillet knife that glides effortlessly through every ingredient, bringing your culinary creations to new heights. Happy sharpening!


