Understanding the Ulu Knife
Anatomy of the Ulu
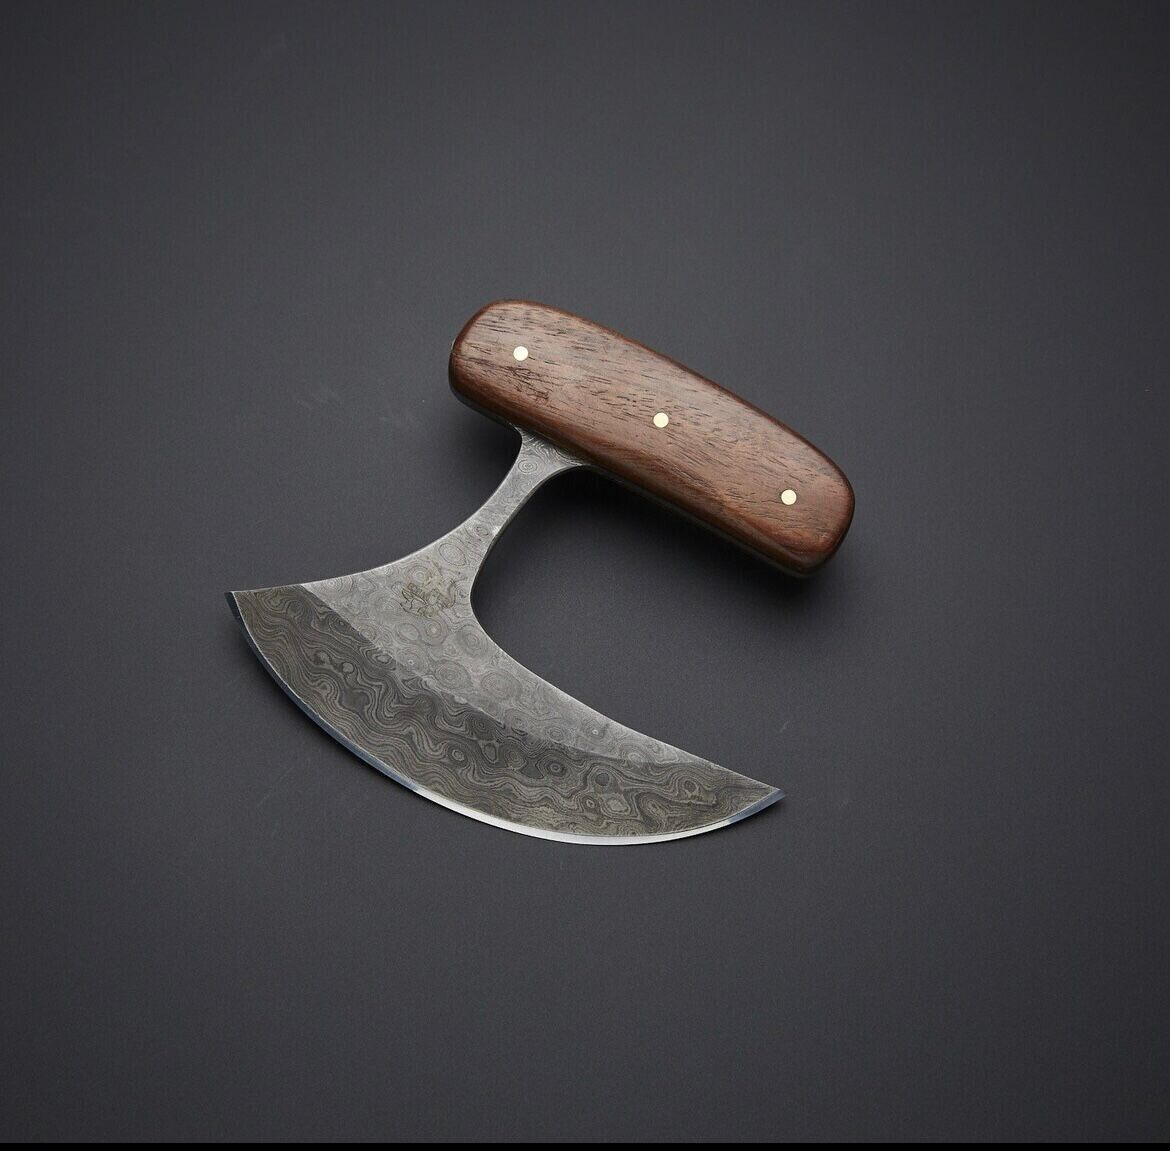
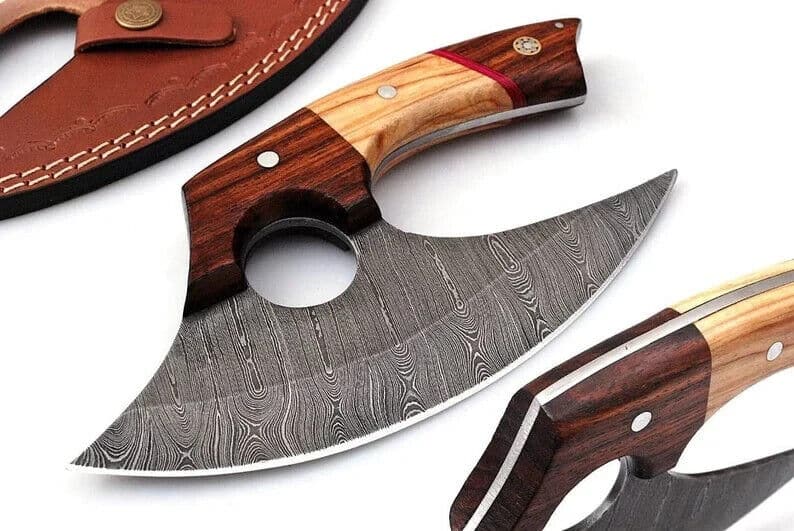
Before diving into the practicalities, let’s familiarize ourselves with the Ulu knife’s anatomy. The Ulu comprises two main parts:
- Blade:
- The Ulu blade is curved, forming a semi-circle that allows for a rocking motion during cutting.
- Typically made from stainless steel, the blade is sharp and durable.
- Handle:
- Traditionally crafted from wood, bone, or antler for an ergonomic grip.
- Modern versions may incorporate materials like plastic or metal for increased durability.
Getting Started: Proper Grip and Stance
1. Gripping the Ulu:
- Hold the Ulu knife by its handle, placing your hand at the center for balance.
- Ensure a firm but comfortable grip, allowing for control during cutting motions.
2. Body Stance:
- Stand with your feet shoulder-width apart.
- Position the hand holding the Ulu close to your body for stability.
Essential Techniques
1. Rocking Motion:
- The hallmark of the Ulu knife is its rocking motion. Rest the curved edge on the cutting surface and rock it back and forth to create a smooth, continuous cut.
- Ideal for chopping herbs, vegetables, and even fruits with precision.
2. Slicing:
- For slicing, maintain a steady, controlled rocking motion while moving the Ulu through the ingredient.
- Perfect for creating uniform slices of meat, cheese, or even bread.
3. Dicing:
- To dice ingredients, start with a rocking motion to create slices, then turn the Ulu perpendicular to the slices and rock again to achieve a fine dice.
4. Mincing:
- For mincing herbs or garlic, use a gentle rocking motion while keeping the tip of the Ulu on the cutting surface.
5. Chopping:
- The Ulu excels at chopping through tough vegetables or boneless meat. Apply a more forceful rocking motion to make quick work of chopping tasks.
Ulu Knife Tips and Tricks
1. Keep It Sharp:
- Regularly sharpen the Ulu blade to maintain its effectiveness. Use a sharpening stone or honing rod for best results.
2. Choosing the Right Cutting Surface:
- Opt for a soft cutting board to preserve the sharpness of the Ulu blade. Wooden or plastic boards are preferable.
3. Cleaning and Maintenance:
- Handwash the Ulu knife with mild soap and warm water. Avoid harsh detergents or placing it in the dishwasher.
- Dry the Ulu promptly after washing to prevent rusting.
4. Safe Storage:
- Store the Ulu knife in a knife block or magnetic strip to protect both the blade and yourself from accidental cuts.
5. Explore Different Angles:
- Experiment with the angle at which you hold the Ulu for varied cutting techniques. Different angles can yield different results.
Embracing Ulu Knife Culture
1. Connect with Tradition:
- Appreciate the cultural heritage of the Ulu knife by exploring recipes from indigenous communities or incorporating it into traditional dishes.
2. Share the Experience:
- Introduce friends and family to the joy of using an Ulu knife. It’s not just a tool; it’s a shared experience that can bring people together in the kitchen.
Ulu Knife Beyond the Kitchen
1. Crafting and Art:
- Explore the artistic side of the Ulu knife. Some blades feature intricate carvings, making them not just functional tools but beautiful pieces of craftsmanship.
2. Gift and Heirloom:
- Consider gifting an Ulu knife to a fellow cooking enthusiast. Its unique design and cultural significance make it a thoughtful and meaningful present.
In Conclusion
Mastering the art of using an Ulu knife is not just about chopping ingredients; it’s about embracing a tradition that spans centuries. As you integrate this unique tool into your culinary repertoire, savor the rocking motion, appreciate the craftsmanship, and let the Ulu knife become more than a kitchen accessory—it’s a cultural journey and a celebration of the art of cooking. So, rock on, experiment, and let the Ulu knife bring a new dimension to your culinary adventures!


Equilibrado
Aparatos de ajuste: fundamental para el funcionamiento suave y óptimo de las equipos.
En el ámbito de la tecnología actual, donde la productividad y la seguridad del aparato son de gran importancia, los dispositivos de balanceo desempeñan un rol fundamental. Estos aparatos específicos están desarrollados para ajustar y fijar componentes dinámicas, ya sea en herramientas productiva, automóviles de transporte o incluso en dispositivos de uso diario.
Para los expertos en reparación de equipos y los especialistas, operar con aparatos de equilibrado es fundamental para proteger el desempeño suave y seguro de cualquier dispositivo giratorio. Gracias a estas alternativas innovadoras modernas, es posible disminuir considerablemente las sacudidas, el sonido y la esfuerzo sobre los soportes, mejorando la vida útil de componentes valiosos.
Igualmente relevante es el papel que juegan los dispositivos de balanceo en la soporte al consumidor. El soporte profesional y el reparación continuo aplicando estos aparatos facilitan proporcionar servicios de óptima estándar, elevando la satisfacción de los usuarios.
Para los propietarios de negocios, la financiamiento en estaciones de balanceo y dispositivos puede ser fundamental para mejorar la productividad y eficiencia de sus dispositivos. Esto es principalmente relevante para los empresarios que administran pequeñas y modestas emprendimientos, donde cada punto cuenta.
También, los sistemas de equilibrado tienen una gran aplicación en el ámbito de la protección y el supervisión de nivel. Permiten detectar probables fallos, reduciendo reparaciones elevadas y problemas a los aparatos. También, los datos extraídos de estos dispositivos pueden aplicarse para maximizar métodos y incrementar la visibilidad en motores de búsqueda.
Las áreas de utilización de los aparatos de equilibrado incluyen numerosas industrias, desde la fabricación de transporte personal hasta el monitoreo ecológico. No importa si se trata de extensas fabricaciones productivas o reducidos espacios hogareños, los dispositivos de equilibrado son fundamentales para asegurar un funcionamiento efectivo y sin interrupciones.