The Art of Sharpening a Serrated Knife
A serrated knife is a cooking necessity that can cut through fibrous veggies, delicate tomatoes, and crusty bread with ease. To keep its razor-sharp edge, though, it needs routine maintenance just like any other blade. We’ll go into the specifics of sharpening a serrated knife in this extensive guide to make sure you maximize its potential in the kitchen.
Understanding the Serrated Edge
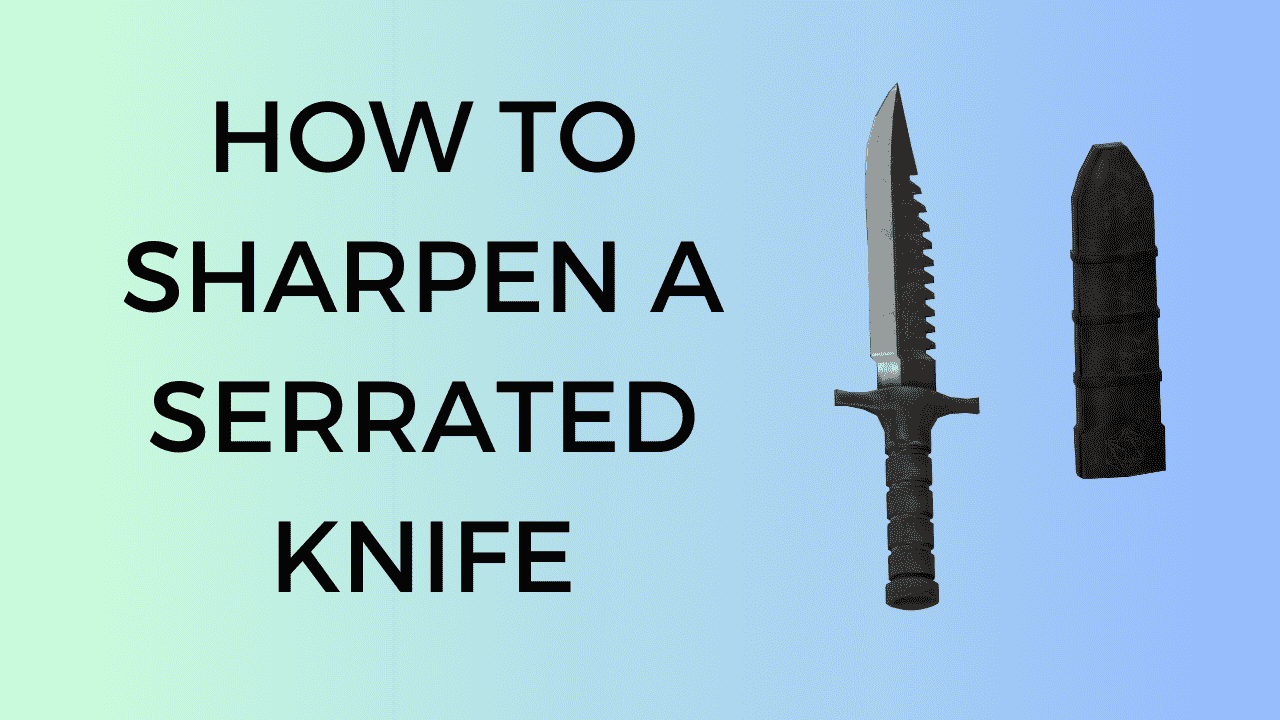
Before diving into the sharpening process, let’s explore the anatomy of a serrated knife. Unlike traditional straight-edged blades, serrated knives boast a unique edge characterized by small, pointed teeth. These teeth enhance the knife’s cutting ability by providing increased contact points with the food, reducing friction, and ensuring a cleaner cut.
The Importance of Sharpness
Maintaining a sharp serrated knife is not only essential for efficient cutting but also for safety. A dull blade requires more force to cut, increasing the risk of slips and accidents. A sharp knife, on the other hand, allows for controlled, precise cuts with minimal effort.
Tools of the Trade
To embark on your serrated knife-sharpening journey, gather the following tools:
- Serrated Knife Sharpener: Invest in a quality serrated knife sharpener designed specifically for this purpose. These sharpeners come with specialized grooves that match the serrations of your knife, ensuring uniform sharpening.
- Sharpening Rod: If you prefer a manual approach, a sharpening rod with a tapered or round shape can be used to individually sharpen each serration.
- Whetstone: For those who appreciate the traditional method, a fine-grit whetstone is a valuable tool. It allows for precise control over the sharpening angle.
- Lubricating Oil: If you’re using a whetstone, lubricating oil is crucial to prevent friction and achieve a smooth sharpening motion.
Step-by-Step Sharpening Guide
Now, let’s break down the serrated knife sharpening process into a series of simple steps:
Step 1: Assess the Blade
Before sharpening, examine the knife blade for any nicks, chips, or significant damage. If the damage is extensive, it might be worth seeking professional sharpening services.
Step 2: Choose the Right Sharpener
Select the appropriate serrated knife sharpener based on your preference and the condition of your knife. Electric sharpeners are convenient and efficient, while manual options provide a hands-on approach for those who enjoy the process.
Step 3: Secure the Knife
If using an electric sharpener, follow the manufacturer’s instructions to secure the knife in the designated slot. For manual sharpening, hold the knife firmly in place, ensuring stability during the sharpening process.
Step 4: Sharpen the Serrations
With the knife secured, gently pass the blade through the sharpener, ensuring each serration makes contact with the abrasive surface. Repeat this process until you achieve the desired sharpness. Take care not to apply excessive pressure, as the serrated edge is delicate.
Step 5: Hone the Blade
For an extra touch of sharpness, use a sharpening rod to hone each serration individually. Move the rod along the curve of each tooth, maintaining a consistent angle.
Step 6: Whetstone (Optional)
If you prefer the traditional approach, use a whetstone to individually sharpen each serration. Apply a few drops of lubricating oil to the stone and maintain a steady sharpening angle for optimal results.
Step 7: Test the Sharpness
After sharpening, conduct a simple test by slicing through a piece of paper or a tomato. A sharp serrated knife should cut effortlessly and cleanly.
Choosing the Right Angle
One of the critical elements in serrated knife sharpening is maintaining the correct angle. Unlike traditional straight blades, serrated knives have beveled edges, and finding the right angle is key to achieving optimal sharpness. Generally, a 20 to 25-degree angle works well for most serrated knives. Pay close attention to the manufacturer’s recommendations for your specific knife and use a guide if needed to maintain a consistent angle during sharpening.
Regular Maintenance
To keep your serrated knife consistently sharp, incorporate regular maintenance into your kitchen routine. Every few months, depending on usage, take the time to assess the knife’s sharpness and perform touch-up sharpening if necessary. This proactive approach will prevent the blade from becoming excessively dull and make the sharpening process quicker and more straightforward.
DIY Serrated Knife Sharpener
For those who enjoy a DIY approach, crafting a serrated knife sharpener at home is possible. Take a narrow ceramic rod or the unglazed bottom of a ceramic mug and use it to individually sharpen each serration. While this method requires a bit more patience, it can be a cost-effective alternative for those who don’t have access to specialized sharpening tools.
Recognizing Signs of Dullness
Understanding the signs of a dull serrated knife is crucial for timely maintenance. If you notice increased resistance while cutting, squashing or tearing of food instead of clean slices, or a generally diminished cutting performance, it’s time to sharpen your knife. By addressing dullness promptly, you’ll ensure that your serrated knife remains a reliable kitchen companion.
Expert Tips for Difficult Areas
Serrated knives often have smaller serrations near the handle or at the tip, which can be challenging to sharpen using conventional methods. For these areas, consider using a small, tapered sharpening rod or a specially designed mini-sharpener. Exercise caution and take your time to ensure that every part of the blade receives adequate attention.


analizador de vibraciones
Equipos de calibración: clave para el operación fluido y productivo de las máquinas.
En el campo de la tecnología actual, donde la rendimiento y la estabilidad del aparato son de alta relevancia, los sistemas de ajuste cumplen un tarea esencial. Estos aparatos adaptados están concebidos para ajustar y asegurar piezas rotativas, ya sea en herramientas productiva, transportes de transporte o incluso en equipos caseros.
Para los técnicos en reparación de dispositivos y los ingenieros, utilizar con aparatos de ajuste es fundamental para promover el rendimiento suave y fiable de cualquier mecanismo dinámico. Gracias a estas alternativas avanzadas sofisticadas, es posible disminuir sustancialmente las sacudidas, el sonido y la esfuerzo sobre los sujeciones, mejorando la tiempo de servicio de componentes costosos.
De igual manera relevante es el rol que cumplen los dispositivos de balanceo en la servicio al comprador. El soporte especializado y el soporte permanente utilizando estos equipos permiten dar prestaciones de alta estándar, elevando la bienestar de los usuarios.
Para los dueños de emprendimientos, la financiamiento en unidades de ajuste y sensores puede ser importante para optimizar la rendimiento y desempeño de sus dispositivos. Esto es principalmente significativo para los emprendedores que manejan medianas y intermedias negocios, donde cada punto cuenta.
Además, los equipos de calibración tienen una vasta uso en el área de la seguridad y el supervisión de excelencia. Facilitan detectar probables defectos, impidiendo intervenciones costosas y problemas a los aparatos. También, los datos recopilados de estos dispositivos pueden aplicarse para mejorar procesos y incrementar la presencia en plataformas de exploración.
Las zonas de aplicación de los dispositivos de balanceo cubren numerosas sectores, desde la fabricación de bicicletas hasta el supervisión ecológico. No importa si se trata de grandes fabricaciones productivas o modestos establecimientos domésticos, los equipos de balanceo son indispensables para promover un funcionamiento productivo y sin detenciones.